Free distressed SVG textures and overlays
Free distressed textures as vector files: distress overlays, speckle, scratches, cracks, grunge and wood grain to knock out of your own artwork, ready-worn squares, circles and hearts, and paint splatters and drips. The wear is uneven on purpose, heavy in patches and clear between, and every mark is a clean closed shape.
18 designs. Free for personal and commercial use, no sign-up. What you can do with them.
-
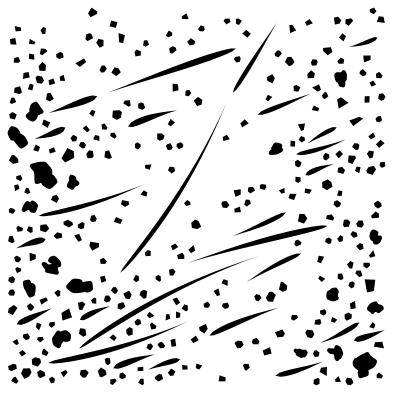 Distressed overlay Solid · 299 pieces
 -
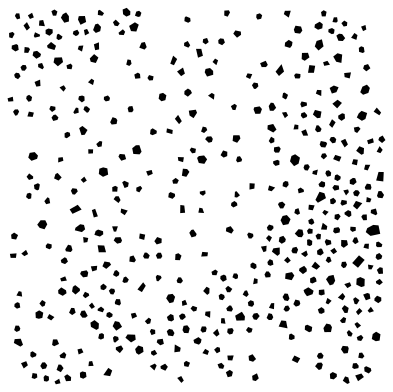 Distressed speckle texture Solid · 390 pieces
 -
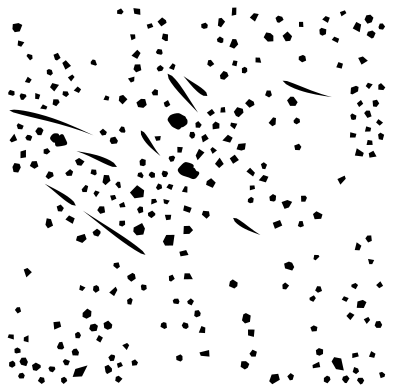 Light distress texture Solid · 247 pieces
 -
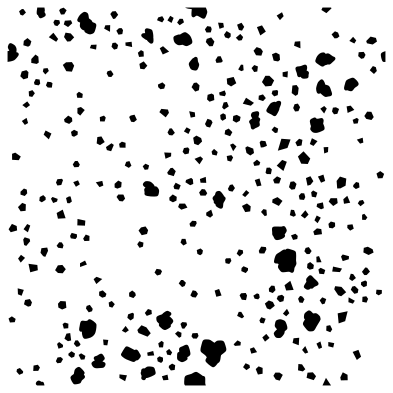 Seamless distressed pattern tile Solid · 287 pieces
 -
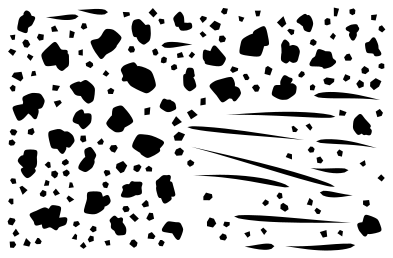 Distressed background Solid · 174 pieces
 -
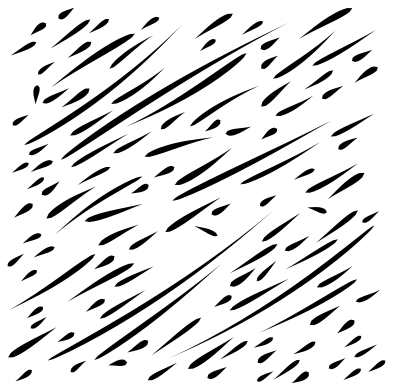 Distressed scratch texture Solid · 120 pieces
 -
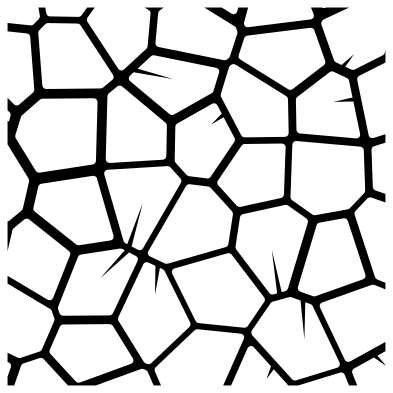 Cracked paint texture Solid · one piece
 -
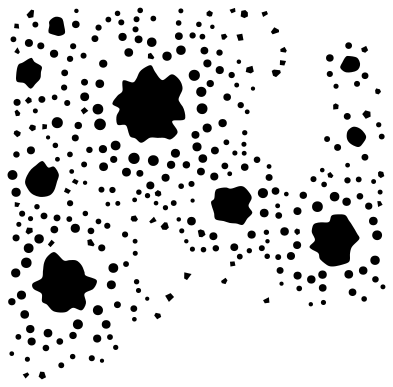 Grunge texture Solid · 302 pieces
 -
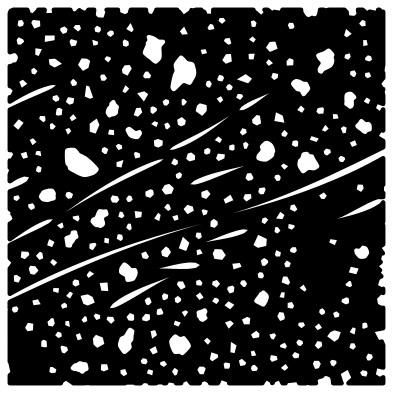 Distressed square Solid · one piece
 -
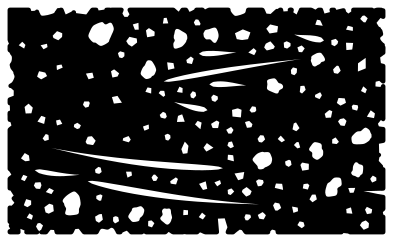 Distressed rectangle Solid · one piece
 -
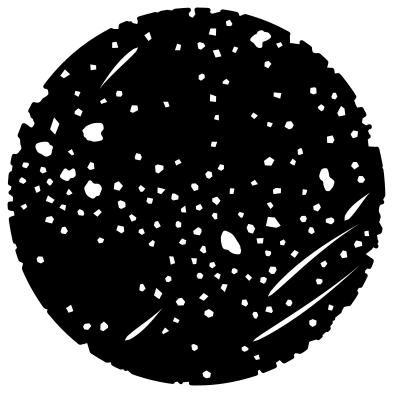 Distressed circle Solid · one piece
 -
 Distressed heart Solid · one piece
 -
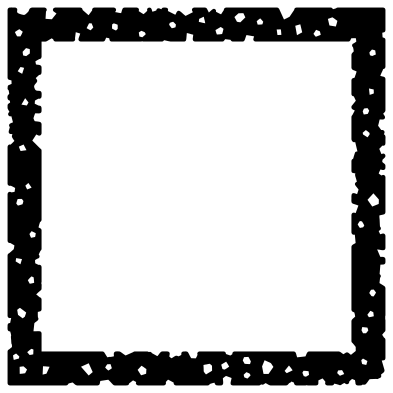 Distressed square frame Solid · one piece
 -
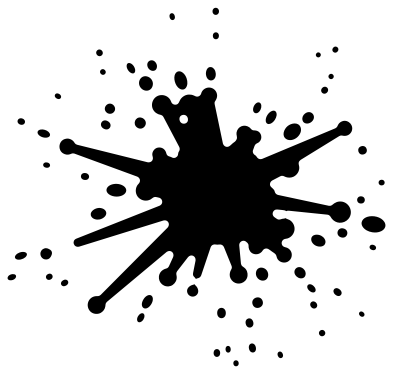 Paint splatter Solid · 59 pieces
 -
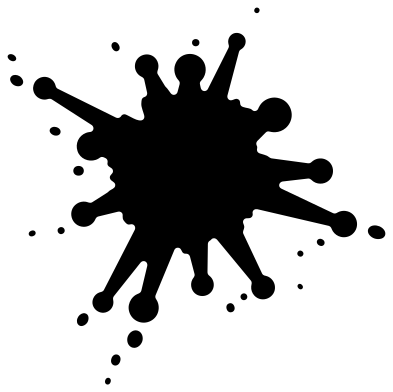 Paint splat Solid · 20 pieces
 -
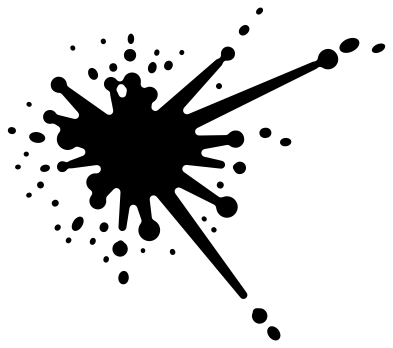 Splatter thrown to one side Solid · 43 pieces
 -
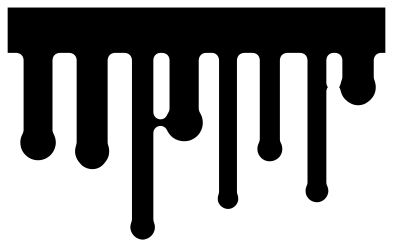 Paint drips Solid · one piece
 -
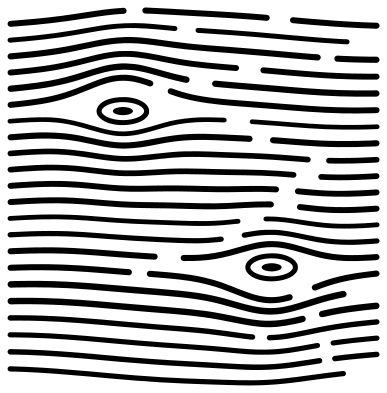 Wood grain texture Solid · 48 pieces
How to distress a design
A distress texture is not cut on its own. You lay it over finished artwork and take it away, so each mark becomes a hole where the ink looks worn off. Weld your design into one shape first. In Cricut Design Space, put the texture over the design, select both and choose Slice, then delete the texture and the crumbs it cut loose. In Silhouette Studio, with the texture in front, select both and use Subtract in the Modify panel. In Inkscape, with the texture on top, select both and use Path, Difference. Each texture is a single compound path, so it counts as one layer in all three.
Move, turn and scale the texture before you subtract it. Put a heavy patch over a broad part of the design and a clear patch over fine lettering. Each design page lists its smallest mark: keep that at 1 mm or more for vinyl, because smaller chips will not weed, and remember that the texture also leaves small islands of vinyl to pick out. For print, the marks can go as small as you like.
Which texture to use
The distressed overlay is the general one, with chips and scratches together. The speckle texture and the light texture are kinder to small text. Scratches alone suit metal, sports and workwear looks; cracked paint suits old signs; wood grain makes a shape look like a painted board. The distressed square, rectangle, circle and heart are already worn, so they need no slicing: use them as a block behind a word. The splatters and the drips are artwork in their own right, not overlays.
How to open the files
- Cricut Design Space: choose Upload, pick the SVG, and add it to the canvas. Set the width you want; the shape is already welded.
- Silhouette Studio: Designer Edition and above open the SVG. The free Basic Edition does not, so open the DXF instead.
- LightBurn, xTool Creative Space and Glowforge: import the SVG, then set the layer to cut, score or engrave.
- Inkscape, Illustrator and Affinity: open the SVG. It is a plain filled path, so you can recolour it, add a stroke or combine it with your own work.
- Printing or sublimation: use the PNG, which has a transparent background.
Each design page lists the file’s narrowest part at seven sizes, so you can tell whether it will survive at the size you plan to cut.
Questions
How do I add a distressed look to an SVG in Cricut Design Space?
Upload the texture and your design. Weld the design so it is one layer, place the texture over it and size it to cover. Select both, click Slice, then delete the texture and the loose pieces. What is left is your design with the marks cut out of it. Slice only works on two layers at a time, which is why the design must be welded first.
Why does my lettering fall apart after I distress it?
A chip wider than a letter stroke cuts the stroke in two, and the cut-off part is lost when you weed. Use the light texture or the speckle texture on thin lettering, scale the texture down so its marks are smaller than the strokes, or move it so a clear patch sits over the text.
Can I use these textures on a printed design?
Yes. For sublimation, DTF and screen printing, place the SVG or the transparent PNG over the artwork and give the marks the colour of the shirt, or use it as an eraser mask in your editor. Printing has no weeding, so the texture can be scaled much smaller than for vinyl.
 Halftone patterns
  Spiral vectors
  Leopard print
 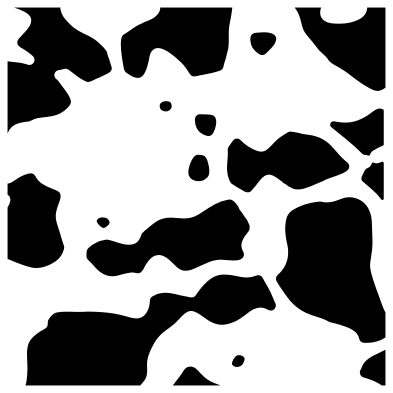 Cow print
 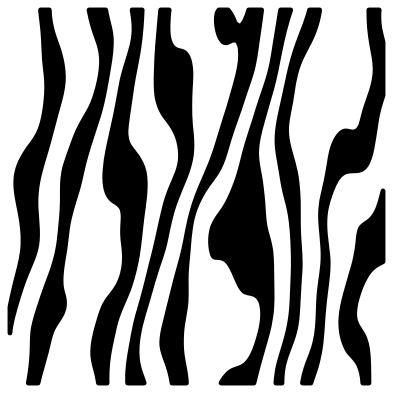 Zebra print
 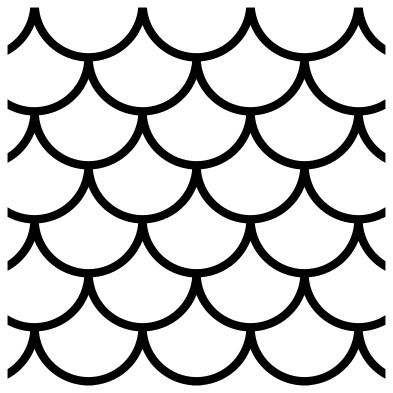 Mermaid scales