Shadow box SVG templates, and a maker to build your own
A layered shadow box is a picture made of sheets of card, cut and stacked in a deep frame with a gap between each. Start from a ready-made scene, or change everything in it: move the trees, swap the deer for a fox, add a sheet, choose the frame size. Then download one SVG per sheet, free.
Free for personal and commercial use, no sign-up, and nothing you make here is uploaded. What you can do with the files.
Ready-made scenes
Each has its own page with the files, the measurements of every sheet and the maker loaded with that scene.
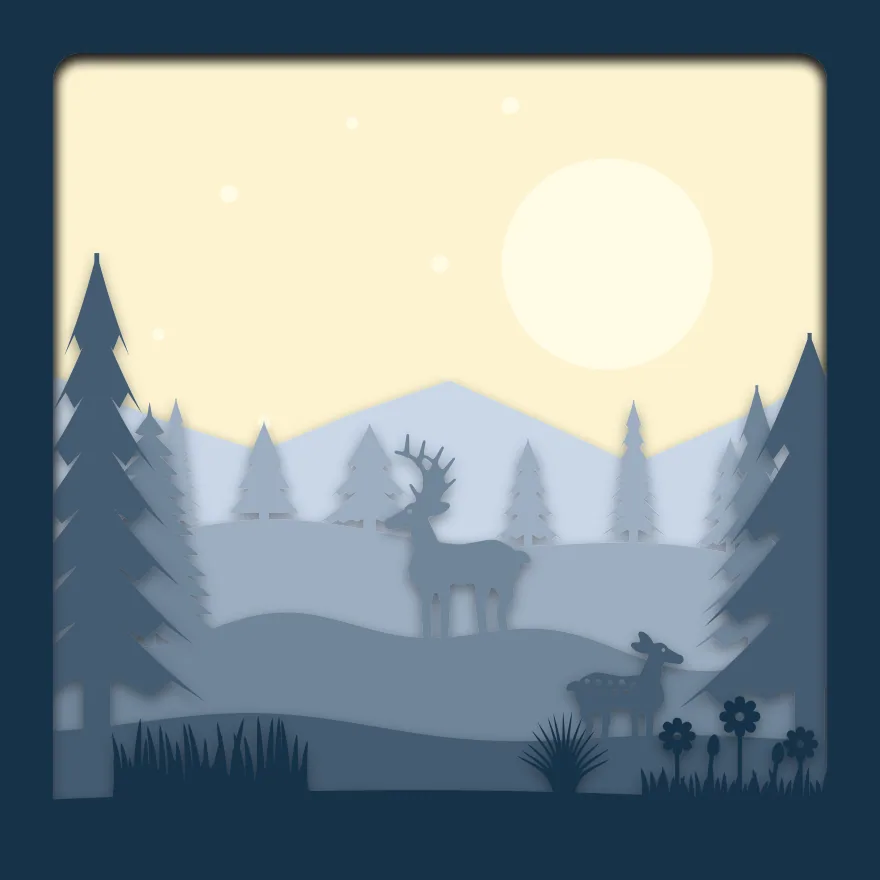
- Forest deer 6 sheets
-
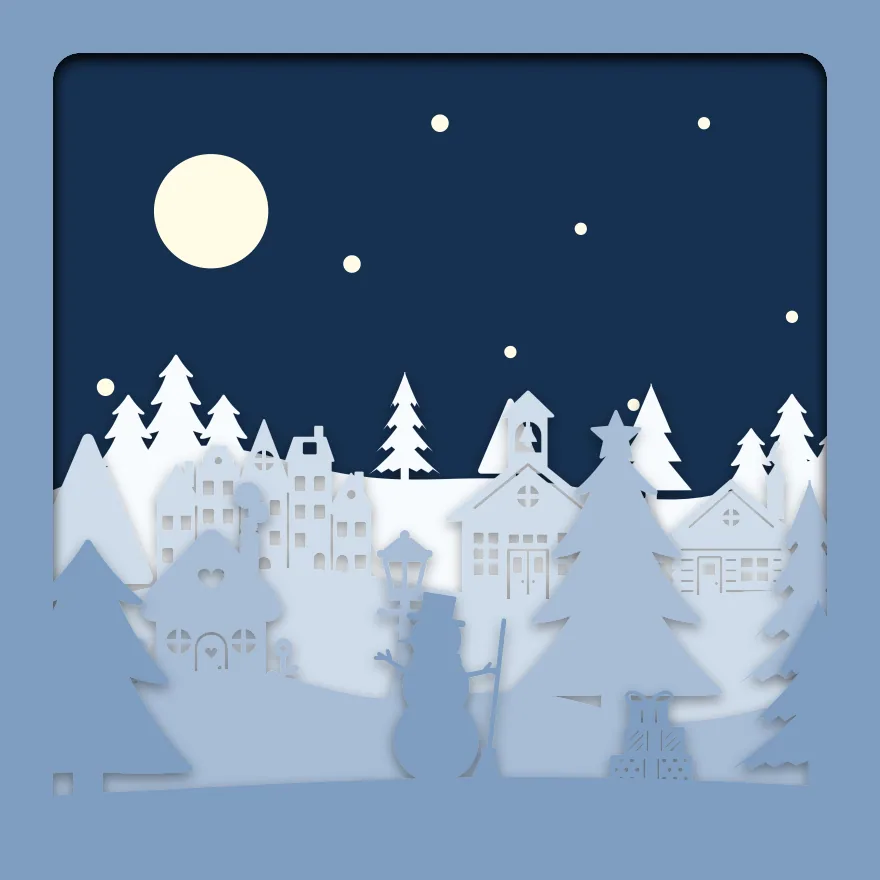 Christmas village 5 sheets
 -
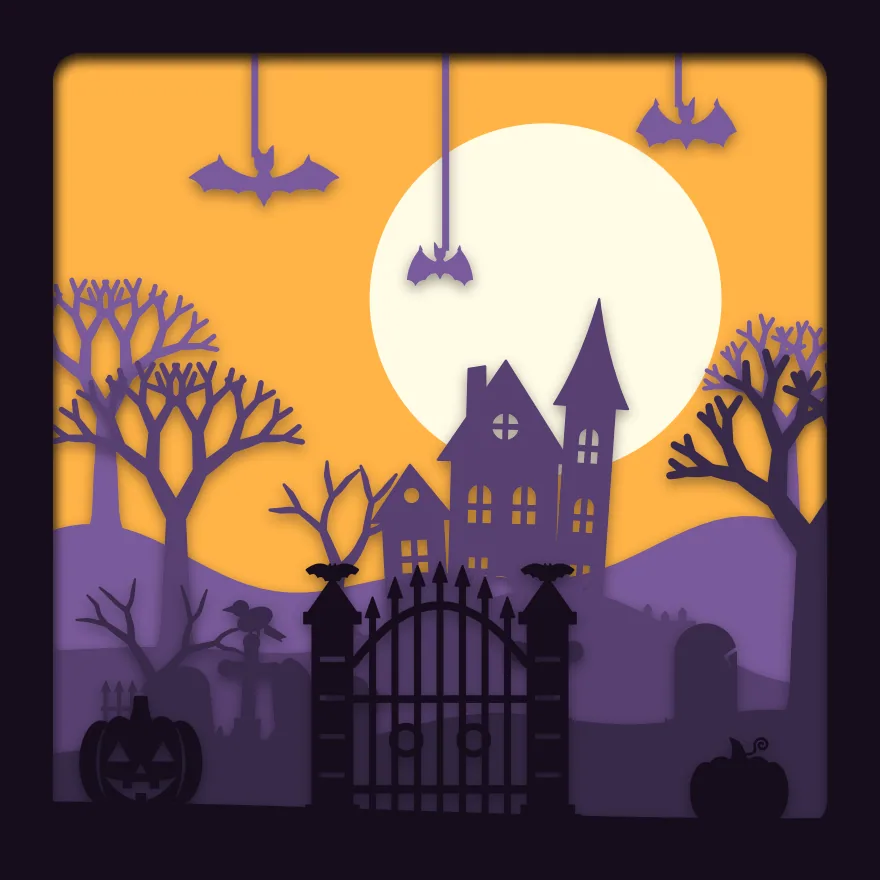 Haunted house 5 sheets
 -
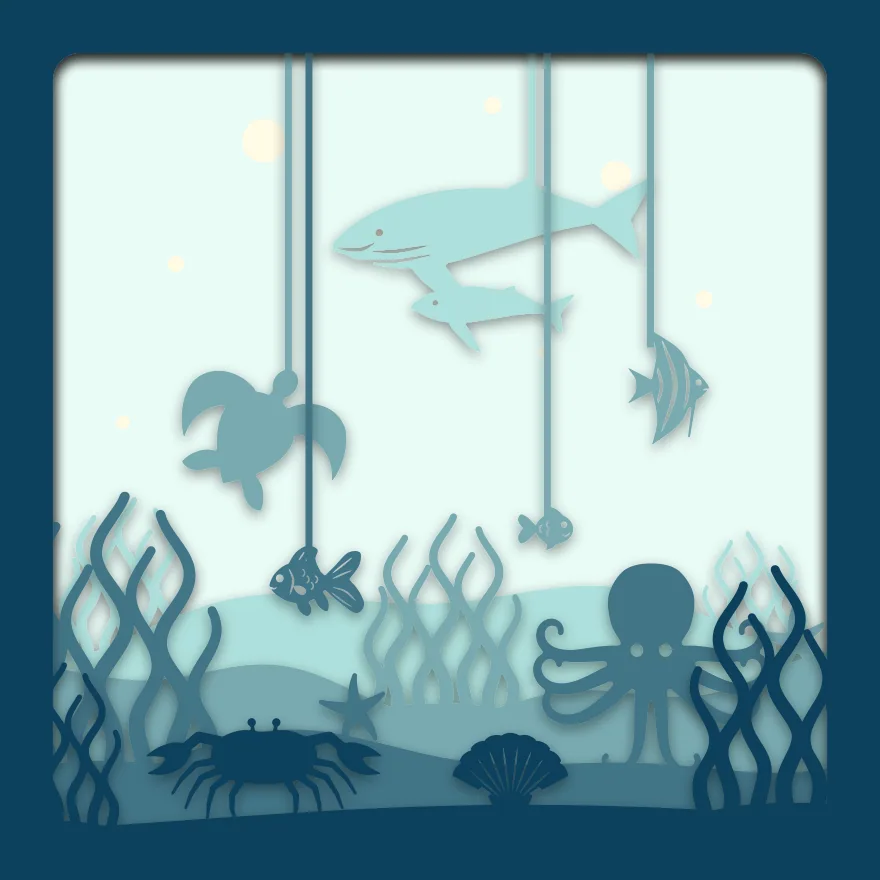 Under the sea 5 sheets
 -
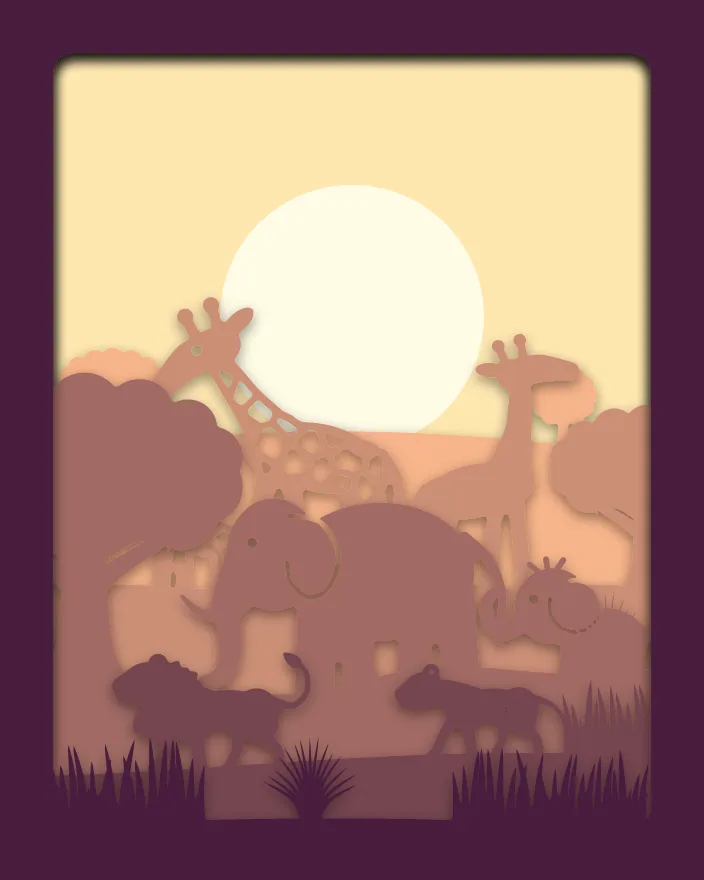 Safari sunset 6 sheets
 -
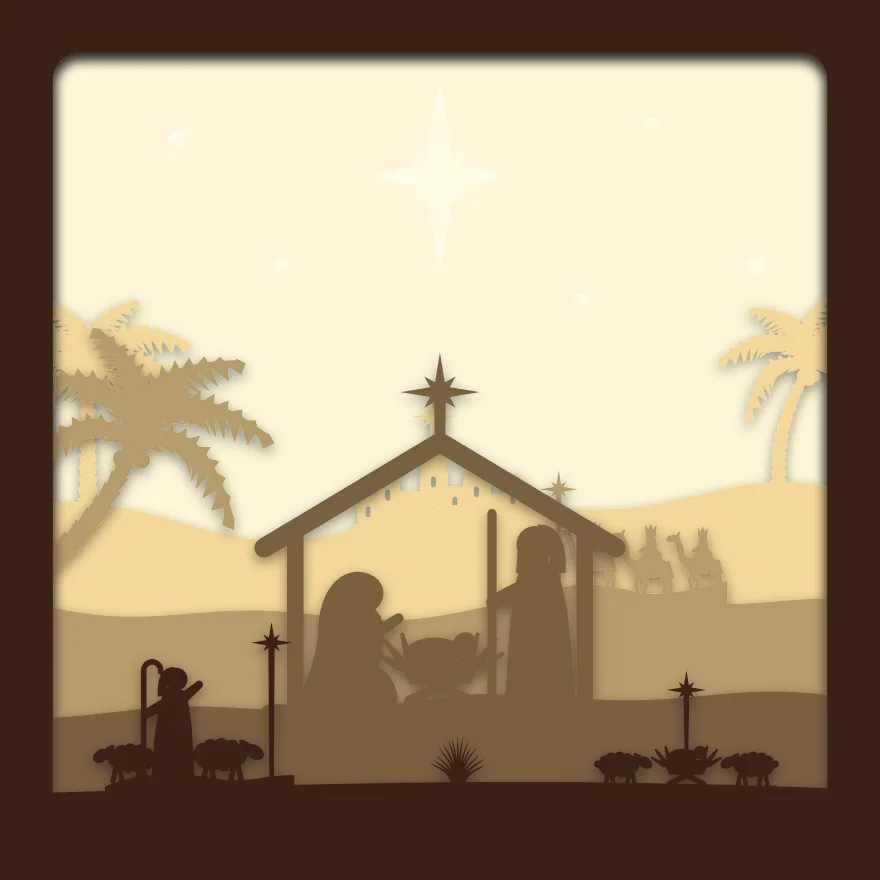 Nativity 5 sheets
 -
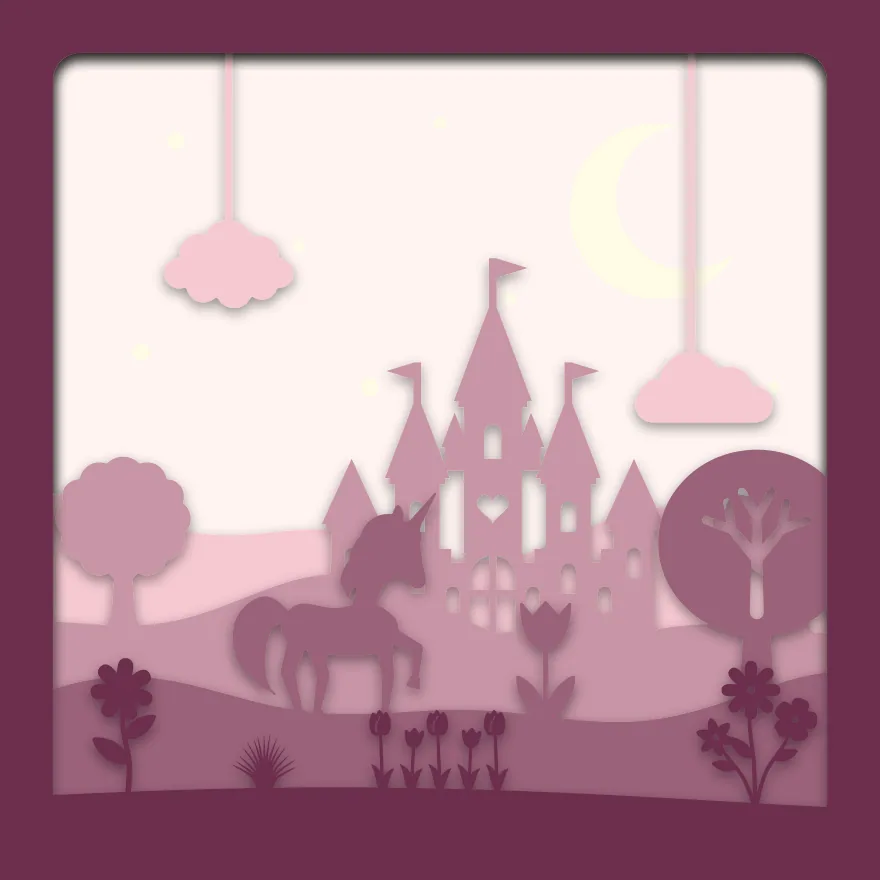 Unicorn castle 5 sheets
 -
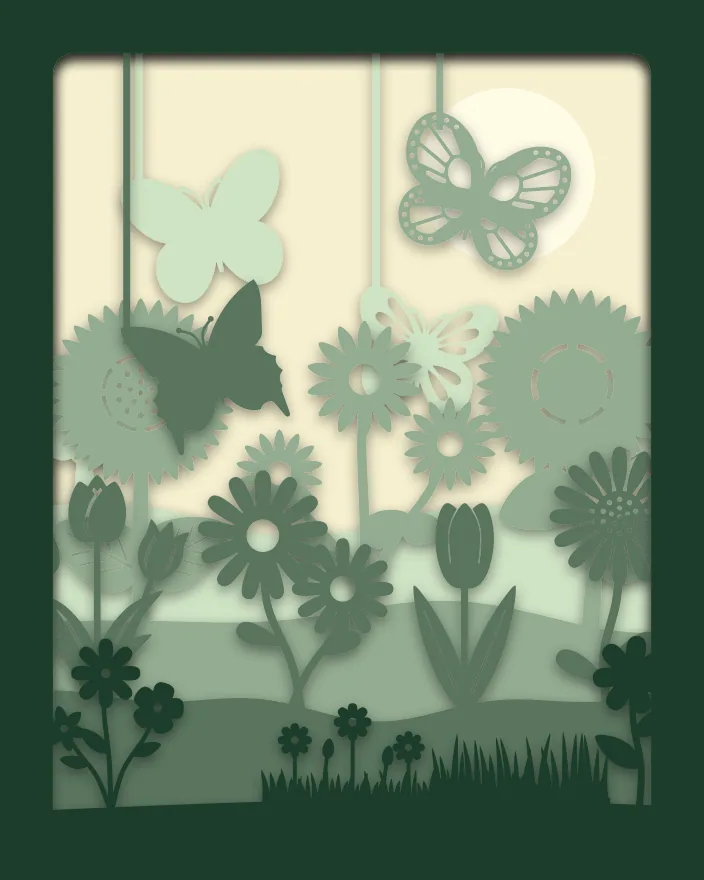 Butterfly garden 5 sheets
 -
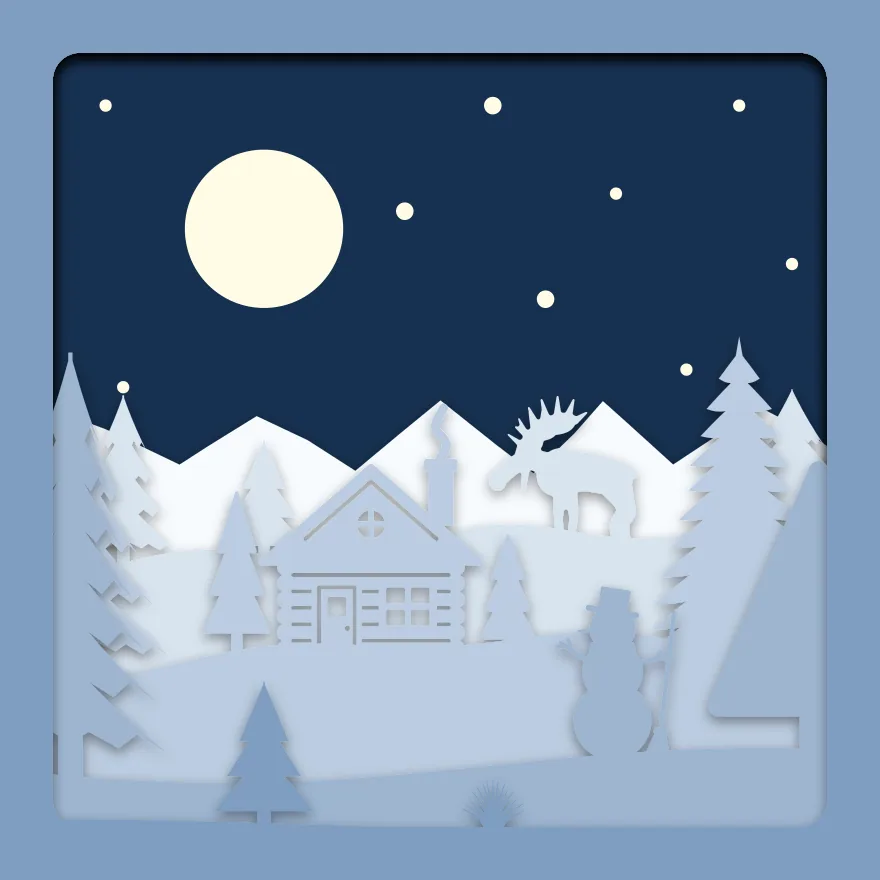 Winter cabin 6 sheets
 -
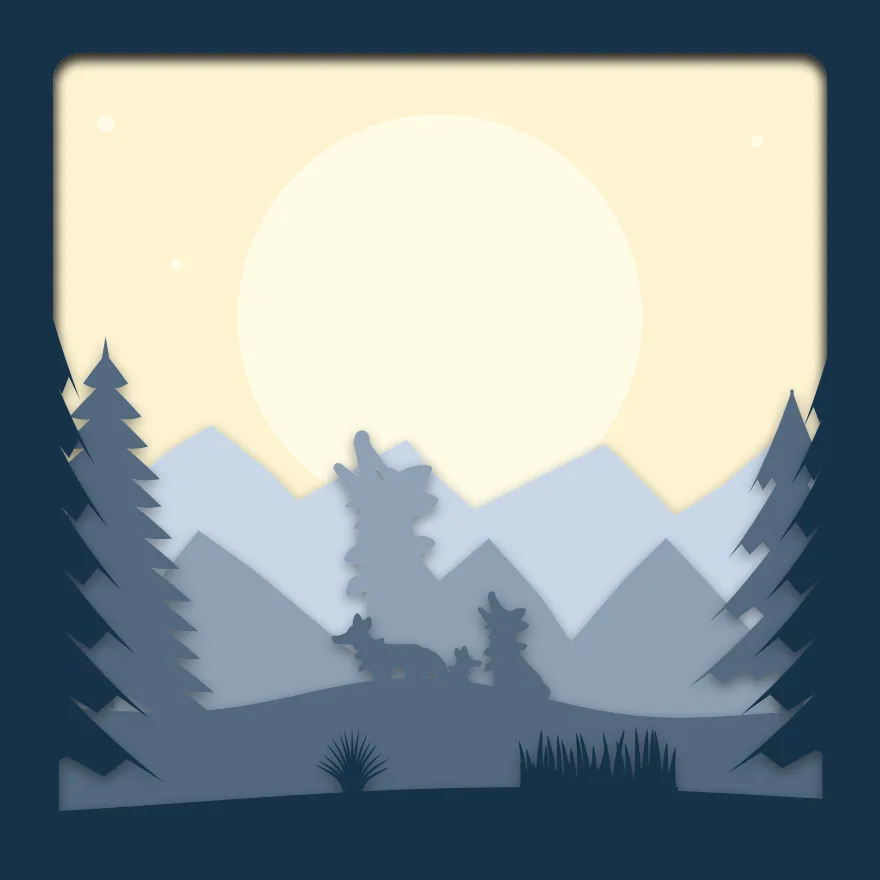 Wolf and moon 5 sheets
 -
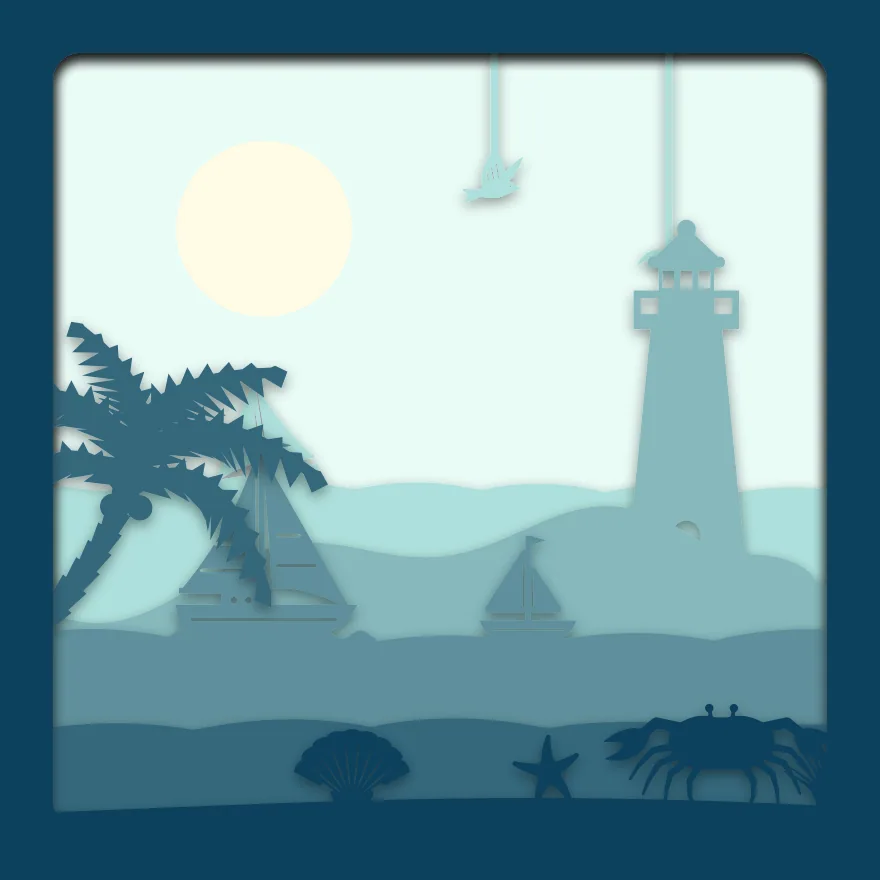 Lighthouse beach 6 sheets
 -
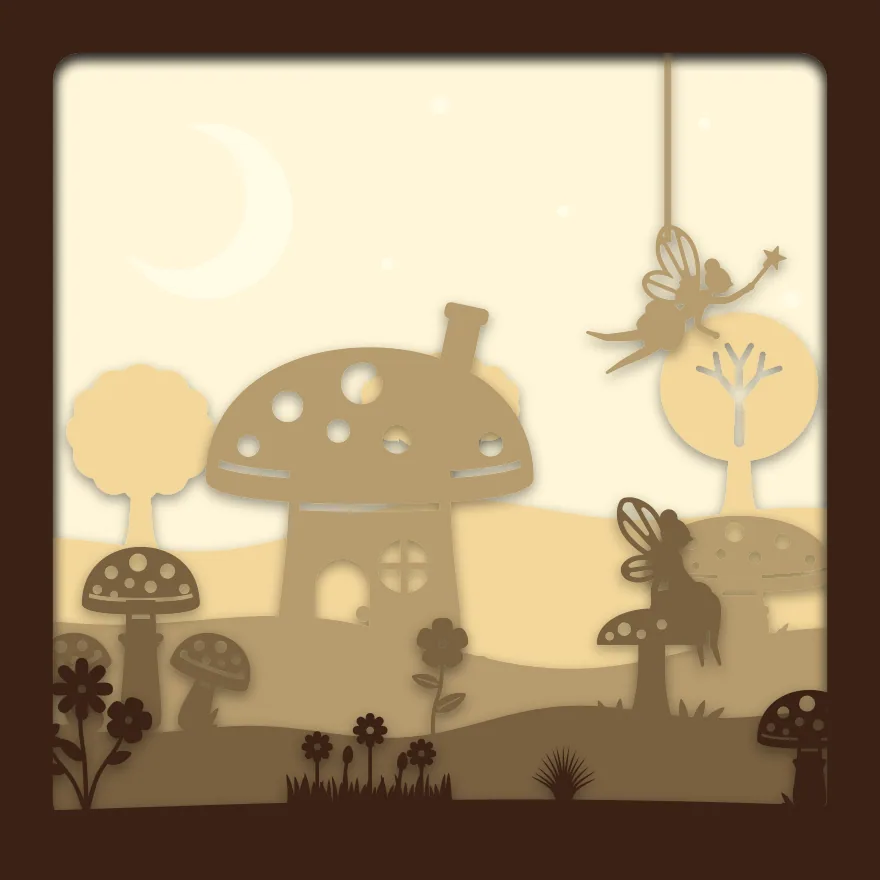 Fairy garden 5 sheets
 -
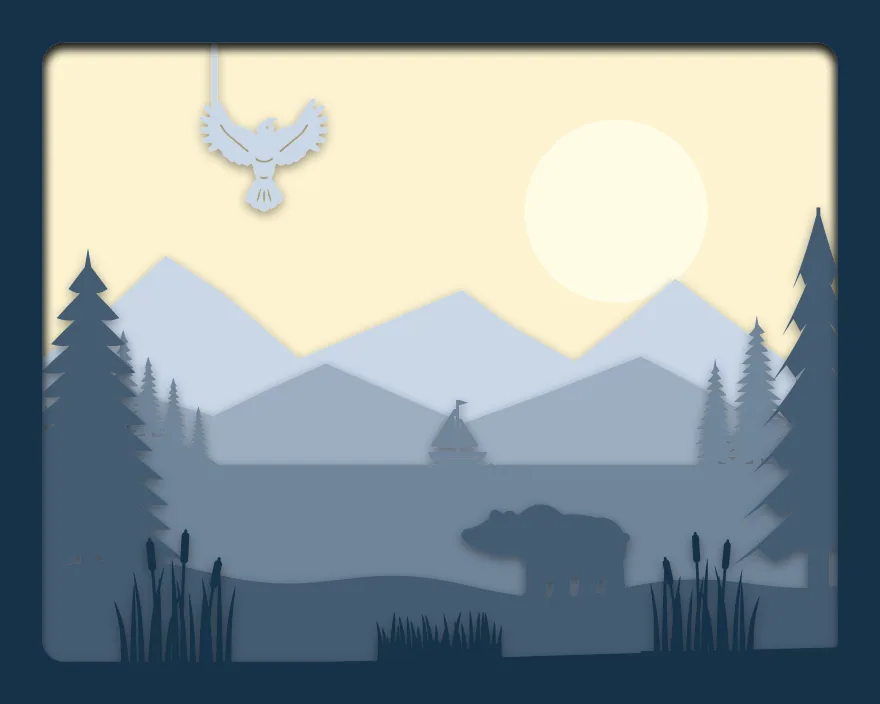 Mountain lake 6 sheets
 -
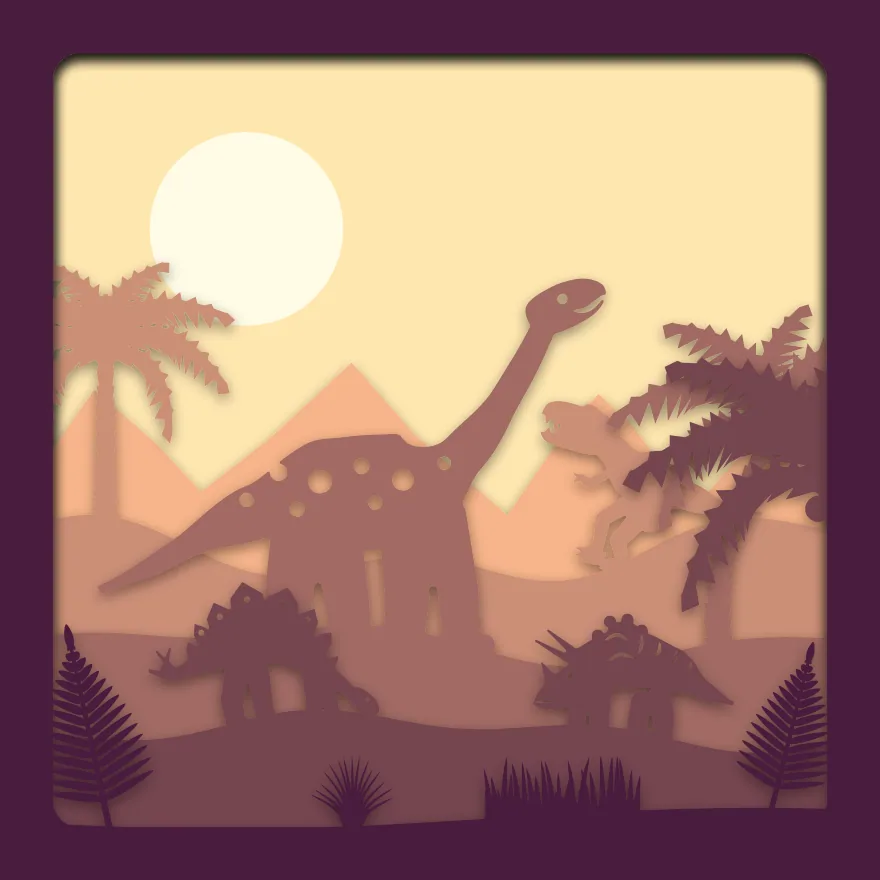 Dinosaur valley 6 sheets
How the maker works
A scene is a stack of sheets, numbered from the back. Every sheet has the same frame round its edge. Inside the frame it has a band of ground along the bottom, and parts that stand on the ground: trees, animals, houses. The sheet behind shows through wherever the one in front is open, which is what gives the box its depth.
- Move: drag anything in the picture. Standing parts slide along their ground and stay rooted in it.
- Swap: select a part and choose Swap to pick another from 480+ shapes, all taken from the free SVG library.
- Hang: tick “In the air” for a bird, a bat or a fish. It hangs from the top of its sheet on a thread of card 1.6 mm wide, so it is still part of the sheet when cut.
- Light: the back sheet is whole. Anything added to it becomes a hole, so a moon, a sun or stars let the light through.
- Ground: each sheet’s ground can be hills, a slope, mountains, waves or flat, at any height.
- Frame: 11 sizes from 5 × 7 in to A4, five window shapes and 10 sets of colours.
Copy link gives you an address that reopens your scene, to keep or to send to someone. The scene is written into the address itself; nothing is stored on a server.
Checked before you cut
A drawing that looks right on screen can still fail on the mat. Before every download, each sheet is welded into a single outline and tested three ways:
- One piece. Everything on a sheet must be joined to its frame. A cloud that touches nothing would fall out of the sheet when you lift it, so the maker tells you and will not make the files until it is joined or hung.
- Nothing too thin. The narrowest neck of card on each sheet is measured at the size you chose. Under 0.6 mm it is refused; under 1 mm you are told which sheet needs a sharp blade and a slow cut.
- Not hidden. A sheet that cannot be seen behind the ones in front is card and cutting time wasted, so it is flagged.
What you need, and how to put it together
- Card: 160 to 220 gsm. Thinner sags between the spacers; thicker is hard to cut finely. White throughout for a box lit from behind; colours, darkest at the front, for one that is not.
- A deep frame: allow 3 mm for each gap and 5 mm over. Six sheets need 20 mm inside.
- Spacers: foam tape, or strips of 3 or 5 mm foam board, on the border of each sheet where the frame hides them.
- Light, if you want it: a warm white LED strip round the inside of the frame, behind the back sheet or between the sheets.
- Cut every sheet at the same size. Do not resize one without the others.
- Lay them out in order, sheet 1 at the back.
- Put spacers round the border of sheet 1 and press sheet 2 onto them with the edges level. Carry on to the front.
- Fit the stack in the frame, front sheet against the glass, add the lights and close the back.
On a cutting machine, use the setting for your card’s weight and a fine-point blade, and slow down for sheets with fine detail. On a laser, the same files work at low power. By hand, print each sheet on its card and cut along the lines with a scalpel on a self-healing mat.
Questions
Which machines do the files work with?
Any that reads SVG: Cricut, Silhouette (Designer Edition or above for SVG), Brother ScanNCut, and laser cutters. Each sheet is one closed outline in millimetres at the frame size you chose. See the notes for Cricut and laser cutting.
The sheets opened at the wrong size. Why?
Some cutting software ignores the millimetre size in an SVG and assumes its own scale. Select the sheet, set its width to the figure in the file name’s size, for example 203.2 mm for 8 inches, and keep the proportions locked. Use the same figure for every sheet.
How many sheets should a scene have?
Five to seven. Fewer and the box looks flat; more and the back sheets are hard to see and the frame has to be very deep. The maker allows up to ten.
Can I sell boxes I make?
Yes. Finished pieces are yours to sell, with no credit needed. The files themselves may not be sold or shared. The licence has the detail.
Can I add names or words?
Not inside the maker yet. The library has letters and ready-made words as cut files; cut one from card and glue it to the front border or the mount.