Free wood engraving templates
Free wood engraving templates as SVG files: ready layouts for a cutting board, round and square coasters, plaques, a box lid, a bookmark, key tags, a wood slice and a tree ornament, each with its border and ornament in place and clear space left for a name.
15 designs. Free for personal and commercial use, no sign-up. What you can do with them.
Or choose one below for its PNG, DXF and cutting sizes.
-
 Wood engraving template for a cutting board Outline · 6 pieces
 -
 Wood engraving template for a round coaster Solid · one piece
 -
 Wood engraving template for a square coaster Solid · one piece
 -
 Wood engraving template for a plaque Solid · one piece
 -
 Wood engraving template for an oval plaque Solid · one piece
 -
 Wood engraving template for a box lid Solid · one piece
 -
 Wood engraving template for a bookmark Solid · one piece
 -
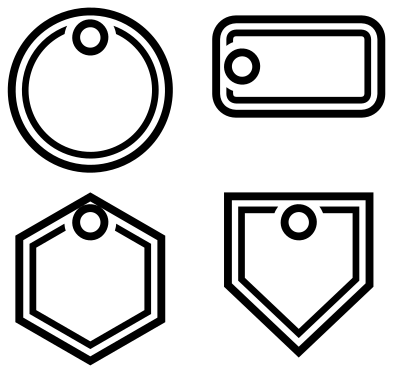 Wood engraving template for key tags Outline · 12 pieces
 -
 Wood engraving template for a wood slice Solid · one piece
 -
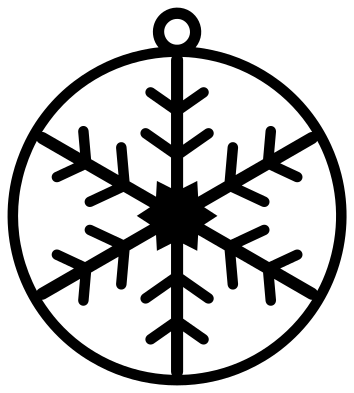 Wood engraving template for a tree ornament Solid · one piece
 -
 Wood engraving template with an anchor Solid · one piece
 -
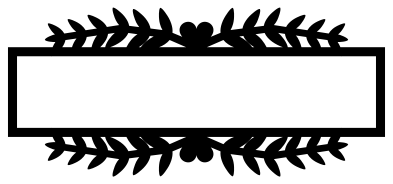 Wood engraving template for a family sign Solid · one piece
 -
 Wood engraving template for a heart plaque Solid · one piece
 -
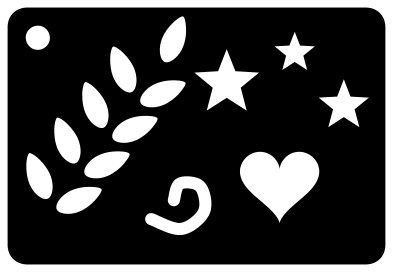 Wood engraving template as a stencil plate Solid · one piece
 -
 Wood engraving template as a border stencil Solid · one piece
What these templates are, and are not
Each file is a finished layout for one kind of wooden object: the border, the ornament and the clear space are already in proportion, so all you add is the name, the date or the initial. They are vector shapes, so they scale to your blank without losing sharpness, and they hold no lettering of their own.
They are not photographs or shaded pictures, and they are not settings for any machine. The shapes are solid areas for a laser to fill or for you to trace and burn by hand. Power, speed and focus depend on your laser and your timber, so run a small test on an offcut of the same wood first.
Engraving across the grain
Wood is not an even surface: the soft early growth burns darker than the hard late growth, so a thin line can break up where it crosses the grain. That is why nothing here is finer than about 1.6 mm at 100 mm, and most parts are 2 mm or more. Pale, close-grained woods such as maple, cherry, alder and birch plywood give the cleanest contrast; oak and ash have open pores that swallow fine detail.
Scale a template by its longer side to match the blank: a round coaster is usually 90 to 100 mm, a bookmark about 40 by 150 mm, a cutting board whatever your board measures. On the cutting board and the key tags the outer outline is a guide or a cut line, not something to engrave.
How to open the files
- Cricut Design Space: choose Upload, pick the SVG, and add it to the canvas. Set the width you want; the shape is already welded.
- Silhouette Studio: Designer Edition and above open the SVG. The free Basic Edition does not, so open the DXF instead.
- LightBurn, xTool Creative Space and Glowforge: import the SVG, then set the layer to cut, score or engrave.
- Inkscape, Illustrator and Affinity: open the SVG. It is a plain filled path, so you can recolour it, add a stroke or combine it with your own work.
- Printing or sublimation: use the PNG, which has a transparent background.
Each design page lists the file’s narrowest part at seven sizes, so you can tell whether it will survive at the size you plan to cut.
Questions
How do I add a name to a template?
Open the SVG in your laser software, type the name with the text tool and move it into the clear space. Keep the letters at least as bold as the lines of the template so they burn evenly, and leave a margin of a few millimetres between the letters and the ornament.
Can I use these without a laser?
Yes. Print the template at the size of the wood, tape it over a sheet of graphite paper and trace the edges with a ballpoint pen, then follow the lines with a pyrography pen or a rotary tool. The two stencil designs are cut to be traced through directly: cut them from thin plastic or card first.
Which parts do I cut and which do I engrave?
On the bookmark, the key tags and the tree ornament, the outer outline and the hole are cut lines and everything inside is engraved. On the coasters and plaques the border is part of the engraving, and you cut the blank separately a few millimetres larger. The box lid and the tree ornament are single connected pieces, so they can also be cut right through as fretwork.
 Mandala SVG
  Frame SVG
  Circle SVG
  Wreath SVG
  Border SVG
  Flourish SVG