Free camo SVG patterns
Free camo patterns as vector files: woodland camouflage in layers, one colour per layer, and one-colour camo for a single cut, with a seamless tile, a stencil panel, a heart, a star, and desert, tiger stripe, digital and grass camo. Every shape is a smooth closed outline, spread evenly by code.
16 designs. Free for personal and commercial use, no sign-up. What you can do with them.
-
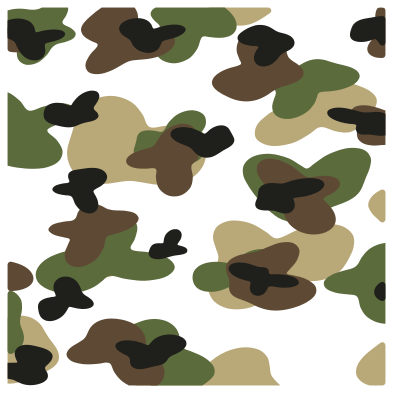 Woodland camo in four layers Layered · 46 pieces
 -
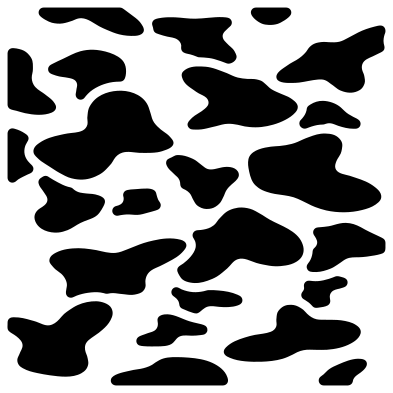 Camo pattern in one colour Solid · 24 pieces
 -
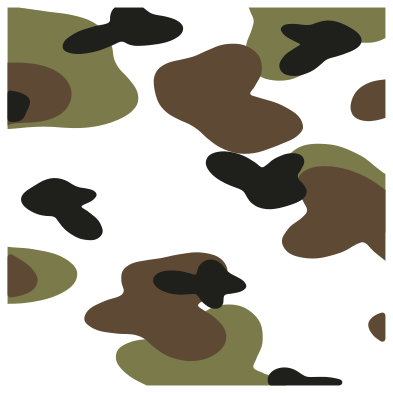 Large camo in three layers Layered · 19 pieces
 -
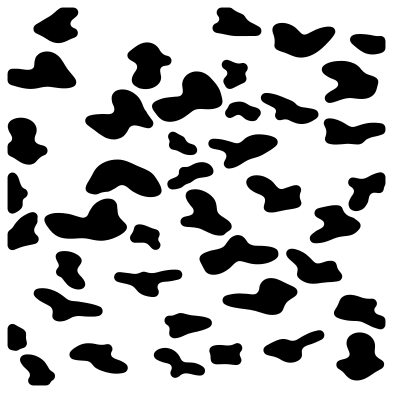 Small camo pattern Solid · 41 pieces
 -
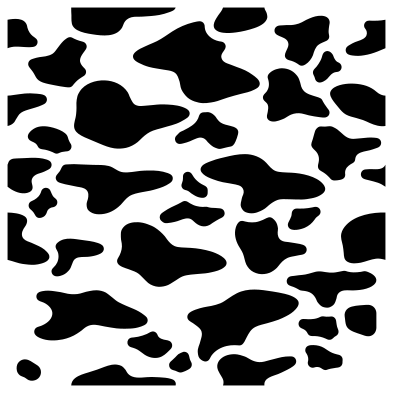 Seamless camo tile Solid · 39 pieces
 -
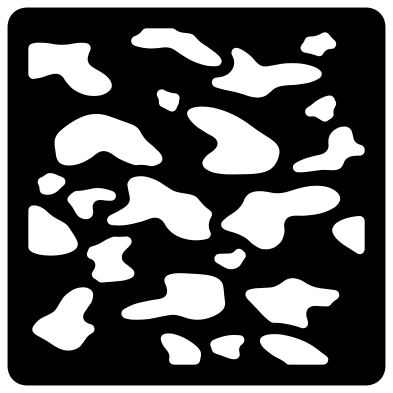 Camo stencil panel Solid · one piece
 -
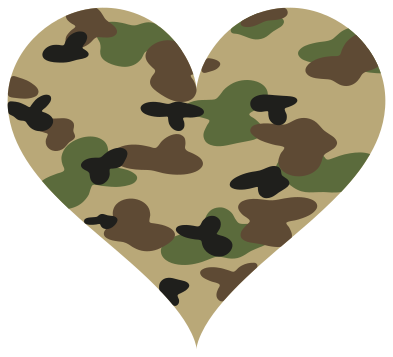 Camo heart in four layers Layered · 29 pieces
 -
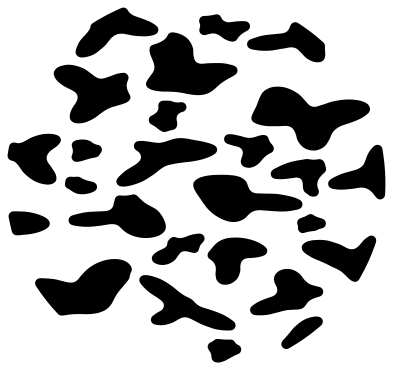 Camo circle Solid · 26 pieces
 -
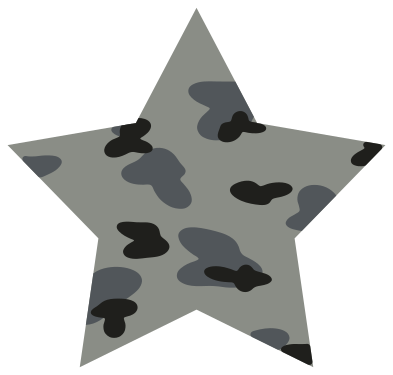 Camo star in three layers Layered · 17 pieces
 -
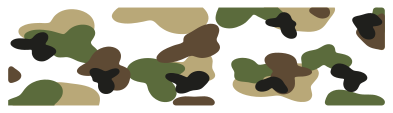 Camo border strip in four layers Layered · 29 pieces
 -
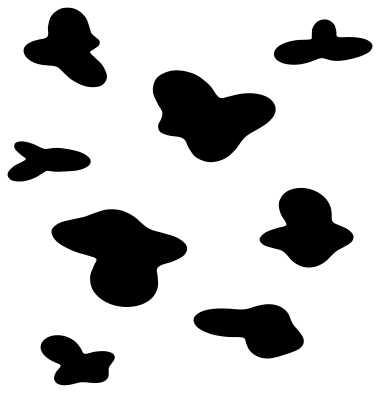 Camo shapes Solid · 8 pieces
 -
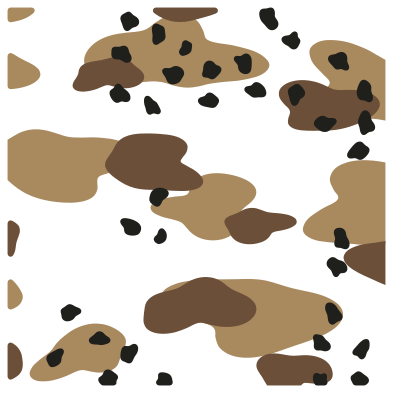 Desert camo in three layers Layered · 55 pieces
 -
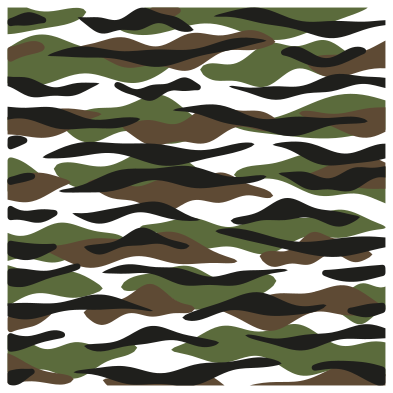 Tiger stripe camo in three layers Layered · 69 pieces
 -
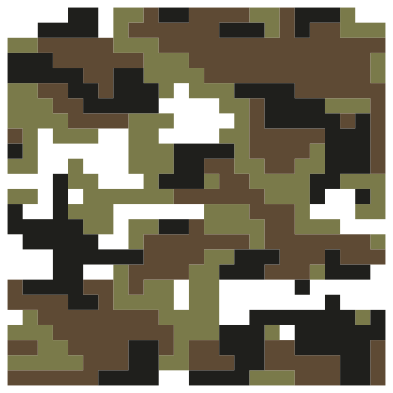 Digital camo in three layers Layered · 49 pieces
 -
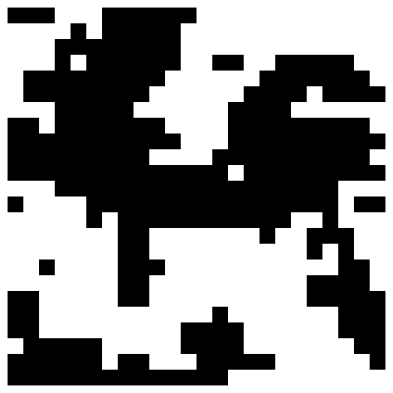 Digital camo tile in one colour Solid · 7 pieces
 -
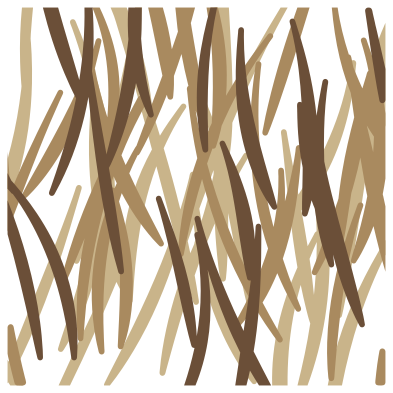 Grass camo in three layers Layered · 21 pieces
Layered camo and one-colour camo
Camouflage is a few flat tones in large shapes with lobes and bays. The layered designs here give each tone its own layer, named in the order they stack: cut layer 1 in the lightest colour, lay layer 2 over it, and so on up to black. The layers overlap one another, so they are forgiving to line up: a shape that lands half a millimetre out still covers what is under it and no gap opens between colours. The square swatches have no background layer, because the shirt, the wall or a plain square of vinyl is the lightest tone.
The one-colour designs need only a single cut. The shapes are one tone and the ground showing between them is the other, so black shapes on an olive shirt or white shapes on grey already read as camo. Where two shapes meet, one has been trimmed back to leave an even channel, which makes them easy to weed.
Filling a shape, and what to watch when cutting
To fill a word or a silhouette, lay the pattern over it in your cutting software, select both and use Slice in Cricut Design Space or Intersect in Silhouette Studio and Inkscape. With a layered design, do this once for each layer against a copy of the same shape, and keep the layers in order. The seamless tile and the digital tile can be repeated edge to edge first to cover something larger than 100 mm.
With iron-on, four layers are thick where they overlap. For shirts, the large three-layer design or a one-colour pattern on a coloured shirt stays softer. Camo shapes are big, so these files scale down well: each design page lists its narrowest shape, and most are still easy to cut at half size. The grass camo is the exception: its blades narrow to 1.5 mm at their ends at full size, so cut it at 100 mm or larger.
How to open the files
- Cricut Design Space: choose Upload, pick the SVG, and add it to the canvas. Set the width you want; the shape is already welded.
- Silhouette Studio: Designer Edition and above open the SVG. The free Basic Edition does not, so open the DXF instead.
- LightBurn, xTool Creative Space and Glowforge: import the SVG, then set the layer to cut, score or engrave.
- Inkscape, Illustrator and Affinity: open the SVG. It is a plain filled path, so you can recolour it, add a stroke or combine it with your own work.
- Printing or sublimation: use the PNG, which has a transparent background.
Each design page lists the file’s narrowest part at seven sizes, so you can tell whether it will survive at the size you plan to cut.
Questions
How do I cut camo in more than one colour?
Use one of the layered designs. Each tone is its own layer in the SVG, named Layer 1, Layer 2 and so on. Cut each layer from a different colour and stack them in that order, starting with layer 1. In Cricut Design Space the layers arrive as separate colours on separate mats.
Can I change the colours of the camo?
Yes. Every layer is a single path, so one fill changes the whole tone. Swap the woodland greens and browns for tans to make desert camo, for greys to make urban camo, for white and pale grey to make snow camo, or for pinks and purples.
How do I use the camo stencil?
Cut the stencil panel from stencil film or card. Spray or sponge one colour through it, let it dry, then move the panel, turn it a quarter turn and go again in the next colour, letting the shapes overlap. The bridges between the holes are at least 3 mm wide at 100 mm, so scale it up for large surfaces and it stays strong.
 Halftone patterns
  Spiral vectors
  Leopard print
  Cow print
  Zebra print
  Mermaid scales