Free paper snowflake patterns to cut
Free paper snowflake patterns, cut the way a folded sheet gives them: a classic snowflake, a simple one for small hands, hearts, lace, fir tree arms, a doily, an open star, a crystal, twelve points and eight, with a stencil, a card front and four fold-and-cut wedges to print.
16 designs. Free for personal and commercial use, no sign-up. What you can do with them.
Or choose one below for its PNG, DXF and cutting sizes.
-
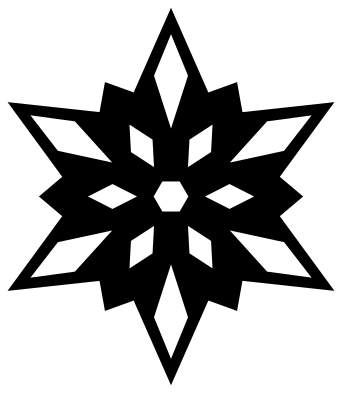 Classic paper snowflake Solid · one piece
 -
 Simple paper snowflake for small hands Solid · one piece
 -
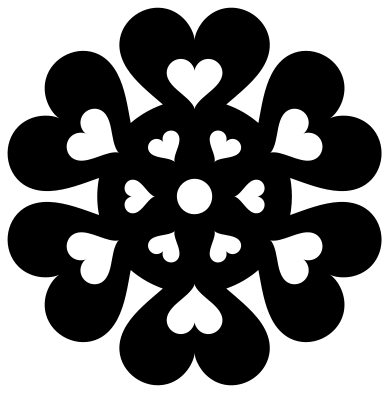 Paper snowflake with hearts Solid · one piece
 -
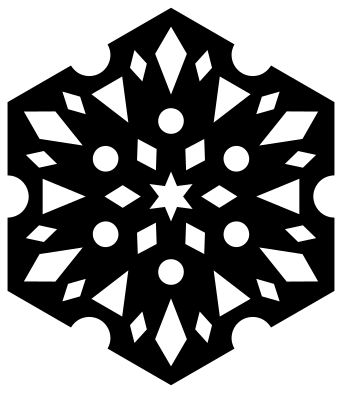 Lacy hexagon paper snowflake Solid · one piece
 -
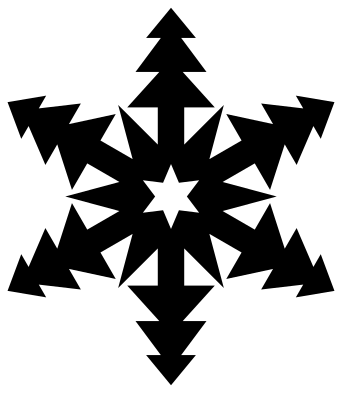 Paper snowflake with fir tree arms Solid · one piece
 -
 Round paper snowflake with a scalloped edge Solid · one piece
 -
 Open star paper snowflake Solid · one piece
 -
 Hexagon crystal paper snowflake Solid · one piece
 -
 Twelve-point paper snowflake Solid · one piece
 -
 Eight-point paper snowflake Solid · one piece
 -
 Paper snowflake stencil Solid · one piece
 -
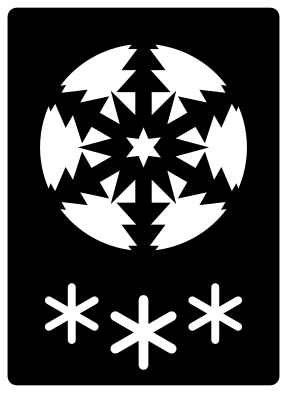 Snowflake greeting card front with a paper cut window Solid · one piece
 -
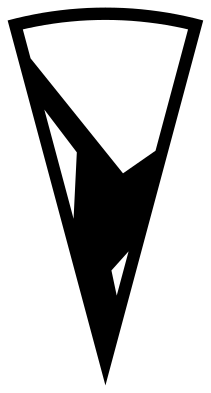 Fold and cut pattern for the classic paper snowflake Solid · one piece
 -
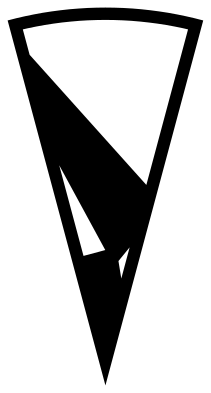 Fold and cut pattern for the simple paper snowflake Solid · one piece
 -
 Fold and cut pattern for the heart paper snowflake Solid · one piece
 -
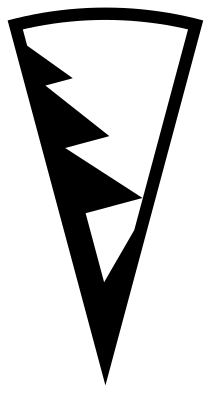 Fold and cut pattern for the fir tree paper snowflake Solid · one piece
Folding the paper for six points
Start with a square of thin paper. Fold it corner to corner into a triangle. Fold that triangle in three, bringing one outer corner across the middle and the other over it, so that the three parts lie on top of each other. Fold the wedge in half once more. You now hold twelve layers in a wedge of 30 degrees with a fold down each long side, which is the shape of the fold-and-cut patterns here. Trim the ragged top, cut, and unfold.
Each pattern shows one wedge inside a fine line that marks the folded paper. Black is the paper you keep. A snip into the fold that runs along the middle of an arm opens out into a hole on that arm; a snip into the other fold opens out between two arms. Twelve layers of copy paper are hard on scissors, so use something thinner: origami paper, baking parchment, or the round coffee filters that classrooms like because they are thin and already a circle.
Cutting them by machine
As cut files the snowflakes skip the folding: the machine cuts the finished shape flat. Each is 100 mm across. The narrowest strip of paper runs from 1.7 mm on the crystal and the twelve-point snowflake to more than 5 mm on the hearts and the doily, so every one of them cuts in copy paper or card at 100 mm, and the bolder ones at half that size.
For a window, cut them from white vinyl or static cling at 150 mm or more. For a tree, the fir tree arms, the hearts and the doily are sturdy enough for 300 gsm card or 3 mm plywood at 100 mm: add a small hole near one tip for the thread.
How to open the files
- Cricut Design Space: choose Upload, pick the SVG, and add it to the canvas. Set the width you want; the shape is already welded.
- Silhouette Studio: Designer Edition and above open the SVG. The free Basic Edition does not, so open the DXF instead.
- LightBurn, xTool Creative Space and Glowforge: import the SVG, then set the layer to cut, score or engrave.
- Inkscape, Illustrator and Affinity: open the SVG. It is a plain filled path, so you can recolour it, add a stroke or combine it with your own work.
- Printing or sublimation: use the PNG, which has a transparent background.
Each design page lists the file’s narrowest part at seven sizes, so you can tell whether it will survive at the size you plan to cut.
Questions
Why does my paper snowflake have eight points instead of six?
Because the square was folded in halves: in half, in half again and then corner to corner, which gives eight layers and a wedge of 45 degrees. Snow crystals have six arms, and to get six from paper the triangle has to be folded in three, which gives a wedge of 30 degrees. Both kinds are here: the eight-point snowflake is the one from the quick fold.
How do I use the fold-and-cut patterns?
Print the PNG so that the wedge is as long as half the width of your square of paper, and cut it out along the fine line. Fold the paper into its wedge, lay the pattern on top with its point at the centre of the sheet and its long sides on the folds, hold it with a paper clip and cut away everything that is not black, through all the layers.
Which paper snowflake is easiest for young children?
The simple paper snowflake: three notches snipped into the folds and one slanted cut across the top. If twelve layers are too thick for small scissors, use thinner paper such as a coffee filter, or let the child draw the notches and an adult cut them.
 Snowflake SVG
  Christmas tree SVG
  Ornament SVG
  Snowman SVG
  Santa hat SVG
  Candy cane SVG