Free forest SVG files
Free forest SVG files: a forest silhouette on a hill, a treeline border, five kinds of tree in a row, pines under a crescent moon, a forest with a deer, a path through the trees, a winter forest, a monogram ring of pines and a layered forest in three greens. Each is one welded shape unless its note says otherwise.
14 designs. Free for personal and commercial use, no sign-up. What you can do with them.
Or choose one below for its PNG, DXF and cutting sizes.
-
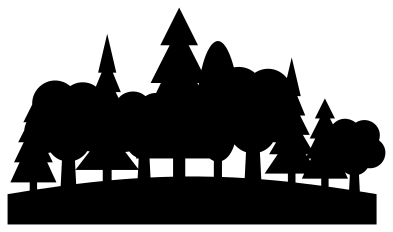 Forest silhouette on a hill Solid · one piece
 -
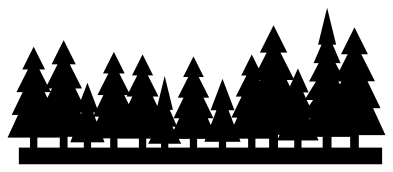 Forest treeline border Solid · one piece
 -
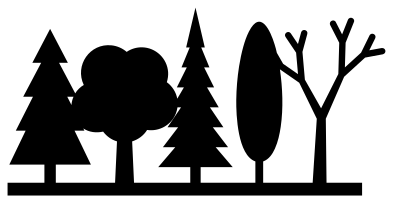 Forest trees: five kinds in a row Solid · one piece
 -
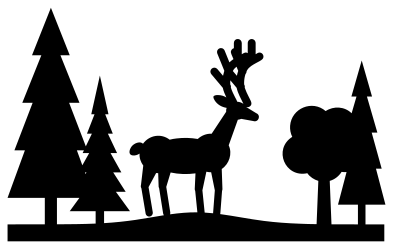 Forest scene with a deer Solid · one piece
 -
 Pine forest under a crescent moon Solid · one piece
 -
 Forest and mountains Solid · one piece
 -
 Forest in a circle Solid · one piece
 -
 Forest path in a frame Solid · one piece
 -
 Winter forest in falling snow Solid · one piece
 -
 Forest background of tall trunks Solid · one piece
 -
 Simple forest icon of three trees Solid · one piece
 -
 Forest monogram ring of pines Solid · one piece
 -
 Forest outline of four trees Outline · one piece
 -
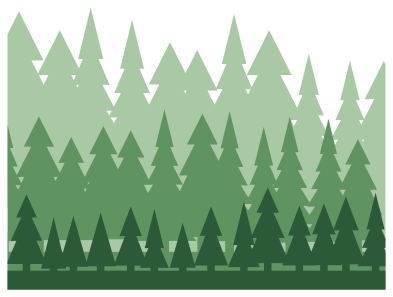 Layered forest in three greens Layered · 3 pieces
What to make with them
A forest is a wide subject, so most of these files are wider than they are tall. The treeline and the silhouette suit the bottom edge of a cabin sign, a mug wrap, a water bottle or the hem of a shirt: cut them 200 to 280 mm wide in vinyl and the smallest trees still weed easily. The circle, the path and the winter panel are badges and card fronts, good at 90 to 120 mm. The panel of tall trunks is made for light: cut it from black card or 3 mm plywood and stand it in front of a candle lantern or in the back of a shadow box.
Cutting notes
Treetops are the fragile part. Every pine and spruce ends in a sharp tip, and on vinyl those tips lift first when you weed, so pull the waste downwards from the tips towards the ground strip. On a laser the tips char if the power is high: lower it for card, and leave the protective film on plywood until the cut is done. The layered forest needs no registration marks, because all three layers share the same bottom edge and the same width. Mirror any design before cutting heat transfer vinyl.
How to open the files
- Cricut Design Space: choose Upload, pick the SVG, and add it to the canvas. Set the width you want; the shape is already welded.
- Silhouette Studio: Designer Edition and above open the SVG. The free Basic Edition does not, so open the DXF instead.
- LightBurn, xTool Creative Space and Glowforge: import the SVG, then set the layer to cut, score or engrave.
- Inkscape, Illustrator and Affinity: open the SVG. It is a plain filled path, so you can recolour it, add a stroke or combine it with your own work.
- Printing or sublimation: use the PNG, which has a transparent background.
Each design page lists the file’s narrowest part at seven sizes, so you can tell whether it will survive at the size you plan to cut.
Questions
How do I make a forest border longer than the file?
Use the treeline. Its ground strip is straight and the same height at both ends, so two copies butt together without a step. Flip the second copy left to right in your cutting software so the join does not repeat the same trees side by side.
Which forest design works best on a small item?
The simple forest icon. It has three trees with rounded corners and no inner cuts, and it stays clear down to about 30 mm wide. The treeline and the silhouette have many small tips and are better at 150 mm wide or more.
How do I stack the layered forest?
Cut each layer from a different green. Lay the pale back layer down first, then the middle one, then the dark front one, with the bottom corners lined up. Foam pads between the layers give the scene depth in a card or a frame.
 Flower SVG
  Sunflower SVG
  Butterfly SVG
  Rose SVG
  Daisy SVG
  Leaf SVG